how to make a trifold leather journal cover
published: may 16, 2026
last updated: may 16, 2026
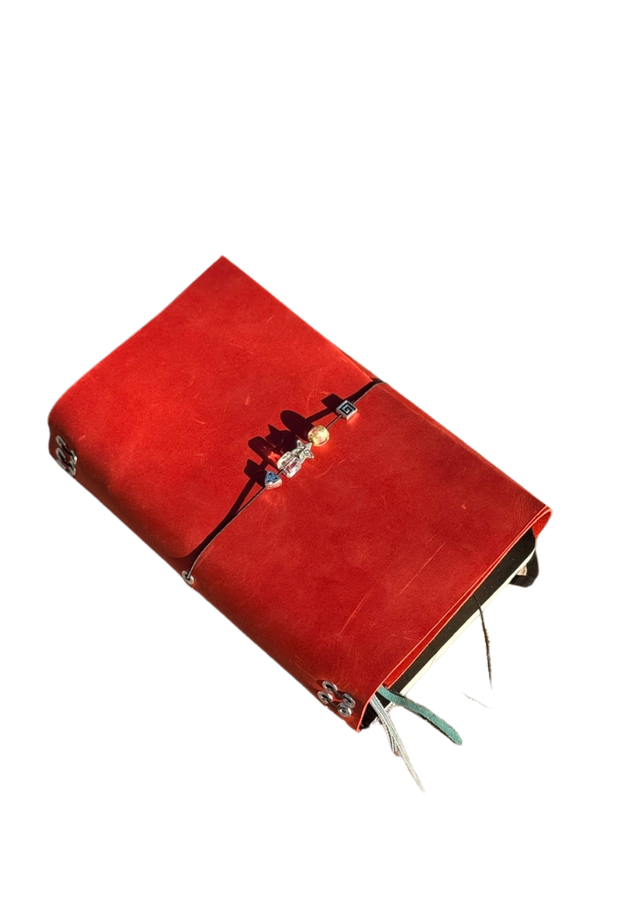
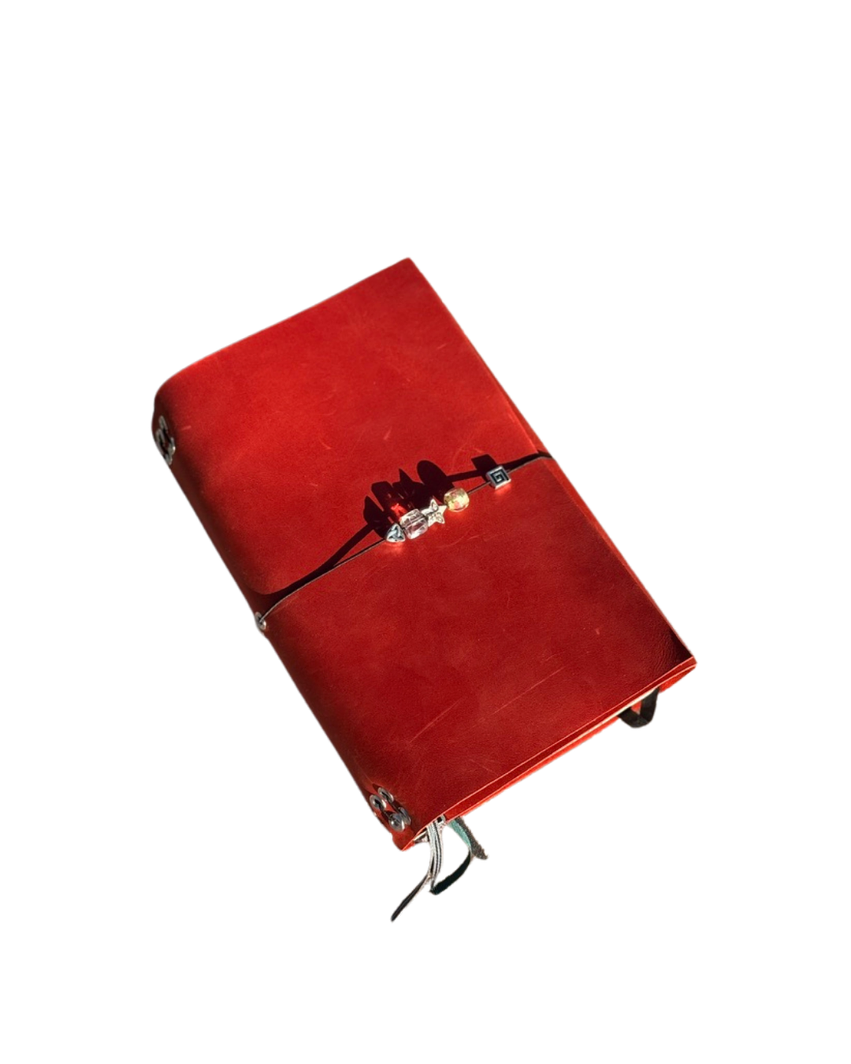
I made a trifold leather journal (with my mom, she basically made the whole thing. I made a video about it below but she's been making leather goods for years so I asked her to "make one with me" for my birthday and this is the beautiful result).
I outlined all materials, steps, notes, etc in this article. The video probably explains it better but here's a breakdown anyway.
materials
amazon list of all materials used
Leather: Soft or vegetable-tanned leather. I found a red one on amazon, vegan and vegetable tanned. The size I purchased was 12in x 24in, and I cut it down to a final size of 17.5in x 8.5in. This all depends on how big you plan on making your journal.
Elastic cord: A few pieces of elastic cord, at least 1mm thick. I used 4 pieces total (3 were about 14 in each, and an outside elastic to close the journal). Find at any craft store or on amazon.
Optional charms for decor:
Hardware: Eyelets (or grommets), size depends on how big you want your holes. I went with 3/16in eyelets.
Tools: leather hole punch (hand or hammer), eyelet setter (3/16in), hammer, leather cutter / sharp utility knife or scissors, long ruler, pencil, cutting mat (optional but helpful).
measurements
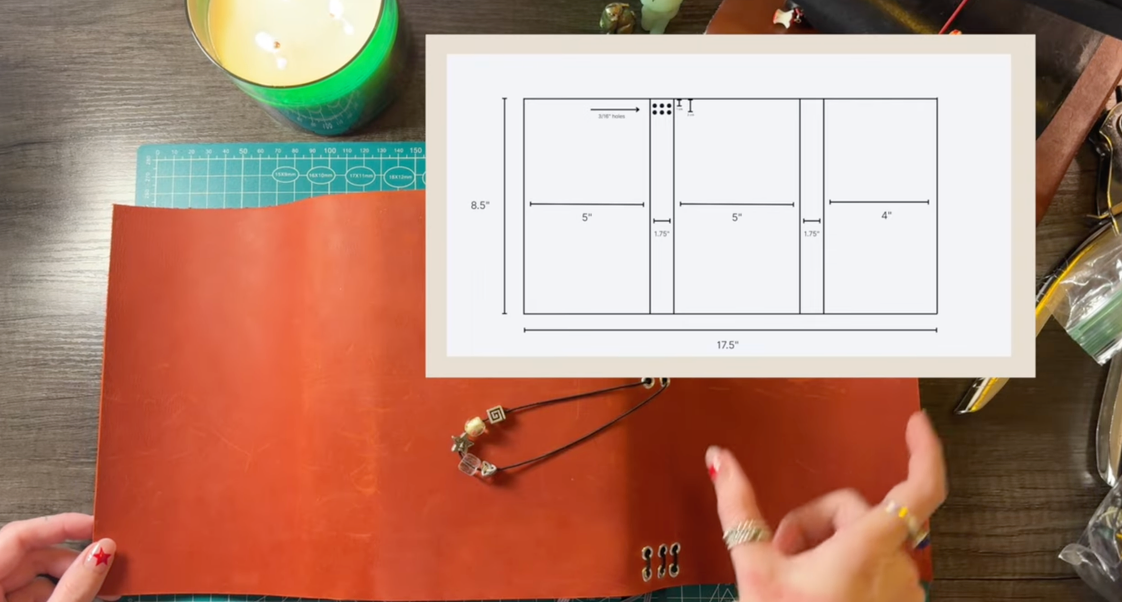
Final dimensions: 17.5in x 8.5in. Left panel: 5in. Center panel: 4in. Right panel: 5in. Spine folds: 1.75in each side.
Eyelet placement: first row 1.75cm from edge, second row 2.75cm from edge, center holes aligned evenly along the spine. Always test by placing your notebooks down on the leather and closing the folds.
step-by-step
1. Planning. Plan the layout and how many books you want your journal cover to hold. Test spacing and thickness by stacking your notebooks and wrapping the leather around them, and seeing how far you want the top panel to wrap over. Leave a small space above and below, unless you want a super snug feel.
2. Measure and cut. Lay a notebook flat on top of the leather and mark the height. We marked the height all the way down so it's easier to align the ruler later. I measured the width of my widest notebook (5in), so 2 panels ended up being 5 inches. Center panel is 4 inches. I stacked 3 journals and added wiggle room, so 1.75in for each spine. Total 17.5in. Mark the total width and LEAVE A LITTLE WIGGLE ROOM. Cut slowly with your leather cutter or scissors.
3. Measure and punch the eyelet holes. Make some spine measurement marks. If you want 3 eyelets per row, mark the middle of your spine, then place the other two left and right of it. Find your first eyelet hole in the middle of the spine, about 1.75in from the edge. Mark it. Eyeball the other two. Then measure 1cm down the spine for the 2nd row. Repeat on the other side. Don't forget an eyelet in the center of your first spine for an elastic to close your journal. Test your hole punching on scrap leather first!!!!!!!!!! Then punch.
4. Place your eyelets. Insert each eyelet into the hole and align your eyelet setter perfectly, no pressure. Practice on scrap. With the hammer, slam the eyelet a few times until its flat. Admire your work.
5. Measure and thread elastics. Weave them through your eyelets and place a notebook to see how long you'd like them. Cut and tie a knot in the center, cutting off the excess. Remember an elastic in the center eyelet to close your journal cover.